I am too lazy to explain the code line by line but got some help from ChatGPT, I think it has done a good job to explain it:
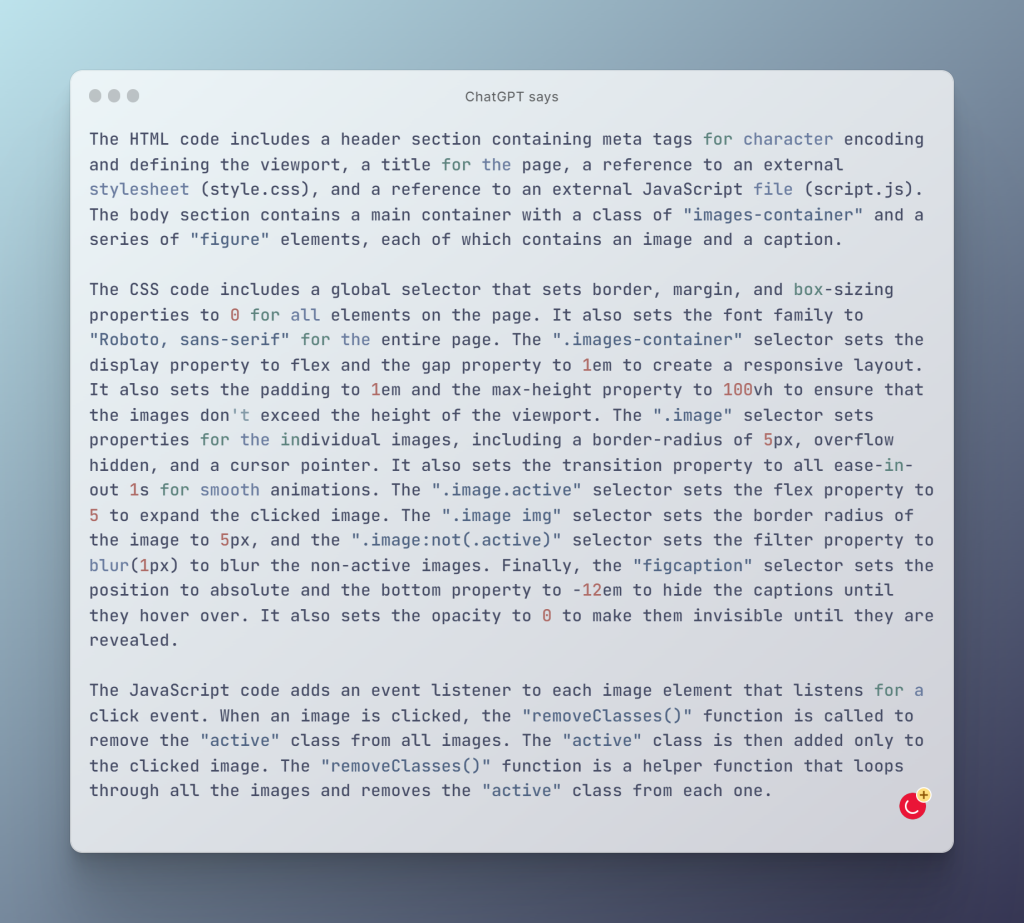
The HTML code includes a header section containing meta tags for character encoding and defining the viewport, a title for the page, a reference to an external stylesheet (style.css), and a reference to an external JavaScript file (script.js). The body section contains a main container with a class of “images-container” and a series of “figure” elements, each of which contains an image and a caption.
The CSS code includes a global selector that sets border, margin, and box-sizing properties to 0 for all elements on the page. It also sets the font family to “Roboto, sans-serif” for the entire page. The “.images-container” selector sets the display property to flex and the gap property to 1em to create a responsive layout. It also sets the padding to 1em and the max-height property to 100vh to ensure that the images don’t exceed the height of the viewport. The “.image” selector sets properties for the individual images, including a border radius of 5px, overflow hidden, and a cursor pointer. It also sets the transition property to all ease-in-out 1s for smooth animations. The “.image.active” selector sets the flex property to 5 to expand the clicked image. The “.image img” selector sets the border radius of the image to 5px, and the “.image:not(.active)” selector sets the filter property to blur(1px) to blur the non-active images. Finally, the “figcaption” selector sets the position to absolute and the bottom property to -12em to hide the captions until they are hovered over. It also sets the opacity to 0 to make them invisible until they are revealed.
The JavaScript code adds an event listener to each image element that listens for a click event. When an image is clicked, the “removeClasses()” function is called to remove the “active” class from all images. The “active” class is then added only to the clicked image. The “removeClasses()” function is a helper function that loops through all the images and removes the “active” class from each one.
Note: This is my implementation when I was refreshing my basic skills through the https://github.com/bradtraversy/50projects50days/ repository.
There are many different ways to implement this. I encourage you to implement on your own using your methods or using the code as a starter logic for your implementation. It’s not good to memorize the code as you cannot visualize how you write your code. I even turn off Github Copilot, which although is useful in certain situations hinders my visualization of coding things.
If you found any errors, please comment below so I can improvise the code. I would also love to see your implementations through email or comments.
At the time of posting, these solutions are fine to implement but I would suggest to keep looking for newer and easier methods through MDN or new Youtube tutorials and new StackOverflow answers as these could become obsolete anytime in the future.